The hardest part of building a professional website is usually not the technology. It is the blank page. Most consultants and fractional executives know they need a site, but they postpone the work because starting from scratch feels slow, expensive, and oddly personal.
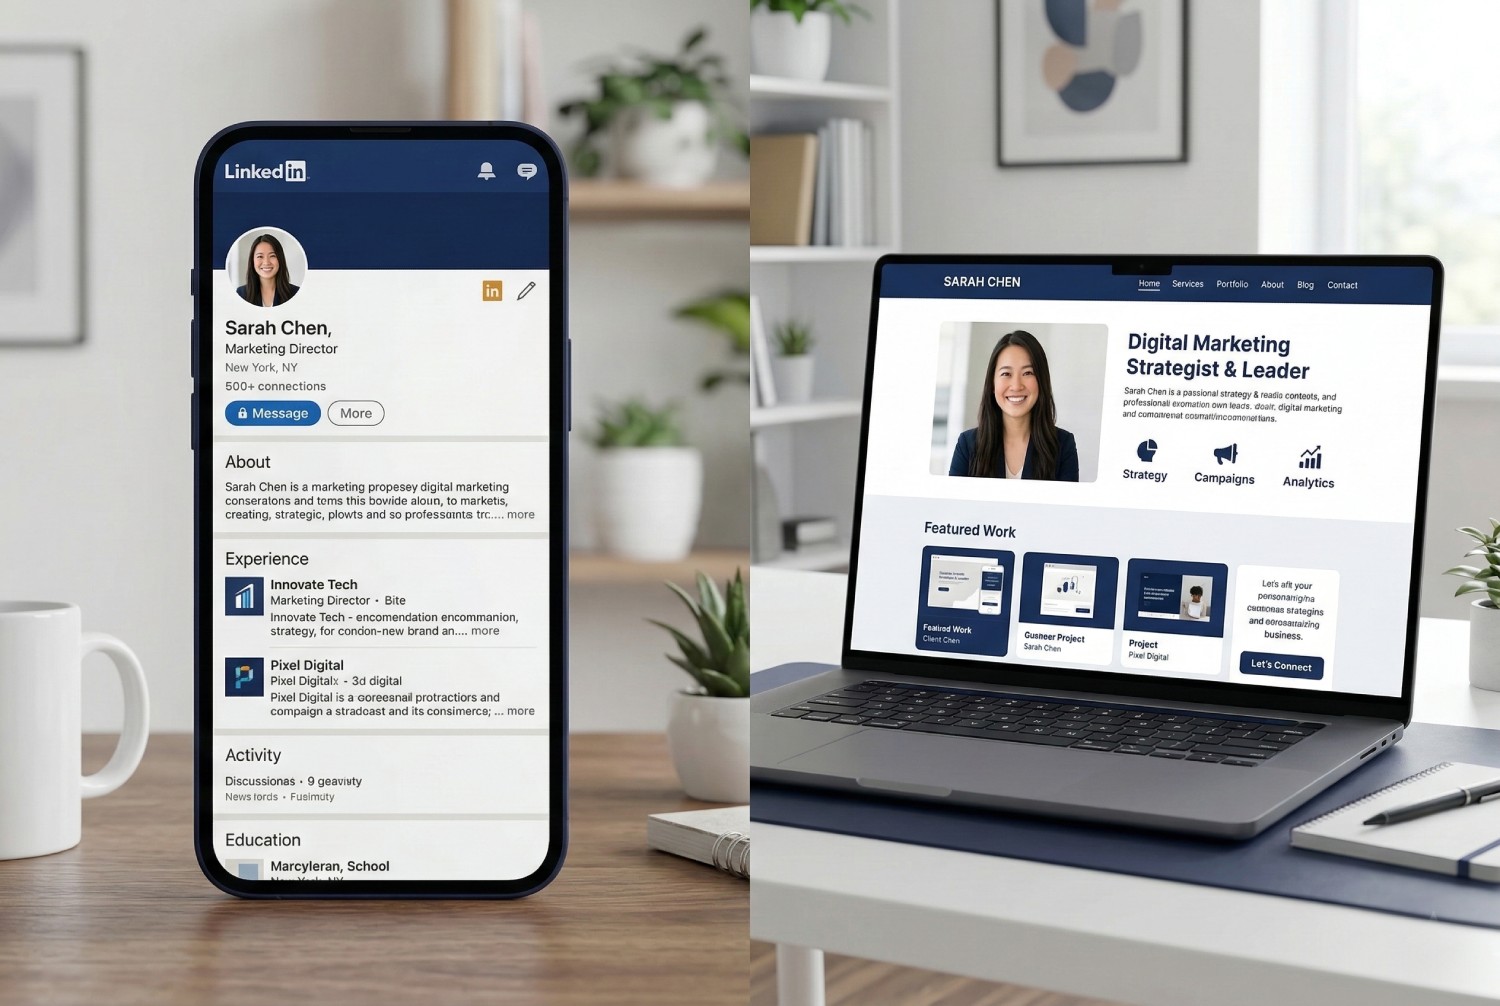
That is why turning a LinkedIn profile into a website is such a useful shortcut. Your profile already contains the raw material. The real job is to reshape that material into something client facing.
Start with the profile you already have
A LinkedIn profile contains your headline, background, work history, skills, recommendations, and sometimes even a decent first pass at your positioning. None of that is final website copy, but it is enough to build a solid foundation quickly.
When you upload a LinkedIn PDF into a tool like VisePage, the system is not magically inventing your story. It is extracting the information you have already written and arranging it into sections a buyer can actually use.
What to review first
Speed is helpful, but editing still matters. The first pass should focus on the pieces that influence trust fastest.
- Rewrite the headline so it speaks to the client problem, not just your title.
- Trim the introduction so it sounds like a person speaking, not a biography entry.
- Choose one or two offers to emphasize instead of listing everything you can do.
- Add proof, such as a short result, testimonial, or named type of client.
What makes the result feel professional
A strong consultant website does not need ten pages. It needs coherence. The home page should tell visitors who you help, what kind of work you do, why they should trust you, and how to start a conversation. If those four things are clear, the site already does more than many expensive builds.
This is also where a role specific template helps. A site for an executive coach should not read like a site for a design agency. A site for a fractional CTO should not feel like a wedding photographer template with the colors swapped out.
What to check before you publish
Do one quick pass from the perspective of a referral. Imagine someone heard your name in a meeting and landed on your site for the first time. Can they tell what you do in ten seconds? Can they see proof that you are credible? Do they know what to click next?
If the answer is yes, the site is ready to go live. You do not need to wait for perfection. You need a version that is clear, accurate, and useful.
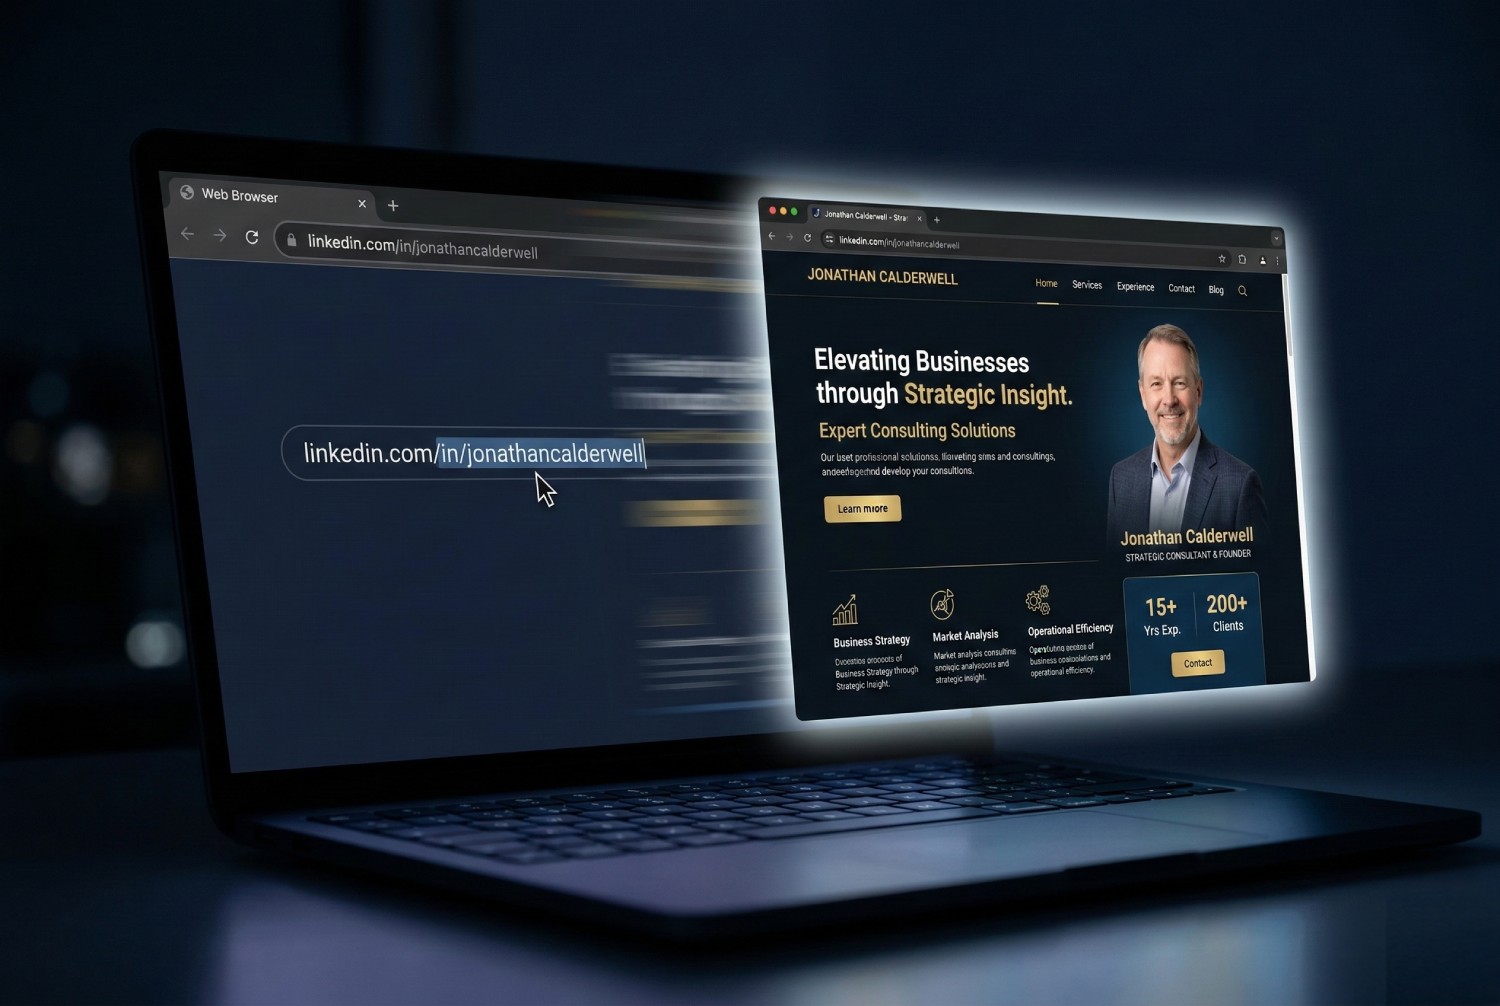
Why speed matters
The biggest advantage of a fast website workflow is momentum. A site that goes live this week can start supporting referrals, appearing in search, and collecting inquiries. A site that remains a future project does none of that.
That is the appeal of VisePage. It compresses the setup work so you can spend your time on the message instead of wrestling with layout decisions. For most independent professionals, that is the part that actually moves the business forward.